
Bolt Action Starter Set; A Build Blog by Howard Nason

Part 2 – Construction begins! Last time we took a look at the basics of the game and the setting, now it's time to get stuck-in and start putting all this plastic together!First off, plastic cement is effectively melting or fusing the two pieces of plastic together, which is different than a cyanoacrylate (CA) glue. CA (or Crazy Glue some folks call it) is great for gluing metal to metal, resin to metal (or fingers to fingers!) but you’ll find most of Warlord’s models are plastics and CA isn’t the right glue for that. They do have some metal figures, and that’s where you’ll want the CA.I know Games Workshop makes a plastic cement; I just haven’t used theirs. So if you’ve got that, no need to buy anything extra.For my personal suggestion, I’m a big fan of Tamiya glue for plastics. There are two types that I use for different tasks:The White Cap is a thicker viscosity for when you don’t want the glue to dry too fast. Bigger assemblies are always good for that, where you’re gluing large areas and it takes time and you don’t want the glue to dry up too quickly.The Tamiya with the green cap is liquid gold! This stuff is amazing, it’s very watery, and where I find it works best is when you have two pieces you want to hold together, or you’ve dropped a piece into place, you can just touch the joints with the glue brush with a little drop of the thin cement on it. Capillary action will draw the cement off the brush and into the joint in a flash. Give it a moment, and it should be holding the piece in place fairly quickly. This takes a bit of practice so you’re not leaving drops on the surface, which will eat the plastic and leave an ugly mark.This method will be really handy when you’ve got the arms on and you’re placing a rifle or other weapon into the hands of the figure. When you get it where you want it, touch the rifle or inside the hands with a drop of green-lid thin cement, and it’ll just flow right in between the two. I use it also when I’ve glued a piece of equipment in place, and then paint some thin glue behind it to make sure the glue seeps into all the places I can’t reach and really locks down the item forever. I also use it for smoothing out areas, like ugly shoulder joints. And I find if I’ve been clumsy and got a glue fingerprint somewhere on a model, I can brush over it with the thin glue and basically ‘paint’ it away. It’ll dry shiny, but if your edges are smooth, it’ll paint over fine and not be noticeable.The thin glue won’t last long if you brush it onto larger areas. It air dries very quickly, which is why the capillary action method works much better. But once either glue has dried, the two plastic pieces will literally be fused together and you’ll need to cut them apart. So plan ahead and test fit everything to make sure it’ll all work together on the figure.Anyway, on to building…Building the AmericansIt’s always a good idea to take some time to study the sprues from Warlord sets. Some of them have sets where the arms and weapons are often molded as a single piece, personally, I try to use as many of these as I can. I find trying to pair up arms with weapons can sometimes be hit-or-miss, and you end up trying to get the arms or hands to conform to a position or weapon that doesn’t look natural. If you’re a customizer, then you’ll be chopping and repositioning anyway and you’ll enjoy getting each figure into a unique pose. Me, I’m lazy, I’m a fan of building out of the box as much as I can now. I think the newer Warlord sets are also some very nice figures and this may be less of an issue as they’ve improved over the years. The starter set also includes helpful sheets that show a diagram of the sprue and number all the weapons and arms together, so you can try to match them up properly.For the US Airborne I opted to follow the build booklet in the starter set, and pretty much tried to copy the poses of many of the soldiers in the pictures.You’re instructed to build up a command group with a suitable officer figure, a Lieutenant in this case, and two escorting soldiers.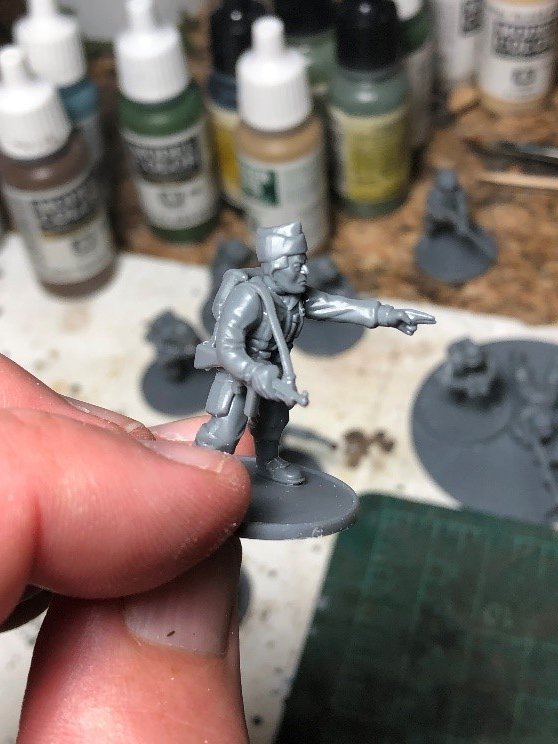 Then you’ll build a light machine gun (LMG) team of three men and two squads of nine soldiers each. You’ll want to consider how you’re going to track casualties whenever you’re building a support team on a larger base (LMG, anti-tank guns etc.). Will you take off each figure as they’re hit? Will you use a small D6 to count up wounds? Once you know what you want to do you can model the team so they can be removed from the base, or make a visually impressive vignette with the figures all fixed in place. In my case, the gunner and loader are going to be fixed to the larger base, while the third crew figure (with binoculars) will be on his own base that will be designed scenery-wise to sit on the larger base but can be removed as the first wound on the team.
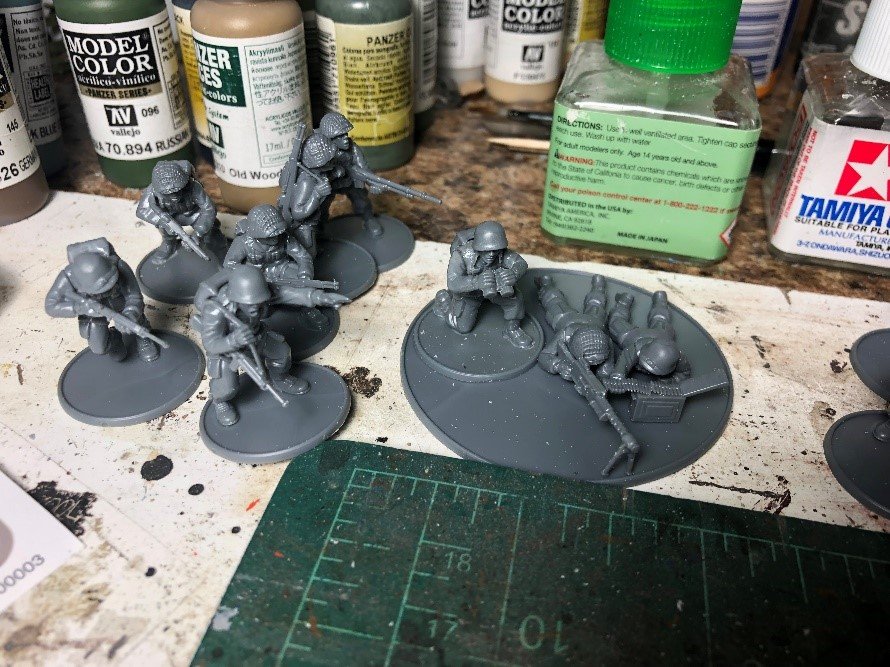 In each squad you’ll include a Browning Automatic Rifle (BAR – also the weapon the trooper from Brooklyn in “Saving Private Ryan” carries, if you recall), an NCO of some sort usually with a sub machine gun (SMG) and then a number of rifles, carbines and maybe more SMGs.
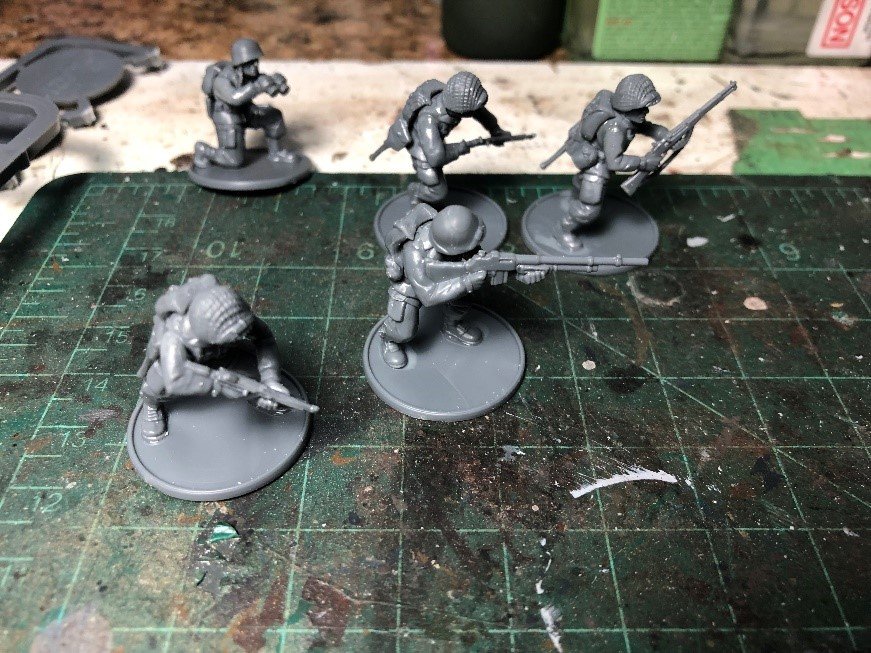 Generally, your troops are going to be equipped with rifles and then unique soldiers are differentiated with the BAR, an SMG etc. But you have some leeway in how you want your troops fitted out, so it’s worth reading through the rules and getting a handle on the points costs before you glue everything down for good. In this case, we’re following the build guides in the set, so I didn’t have to put any thought into the force or points values.
 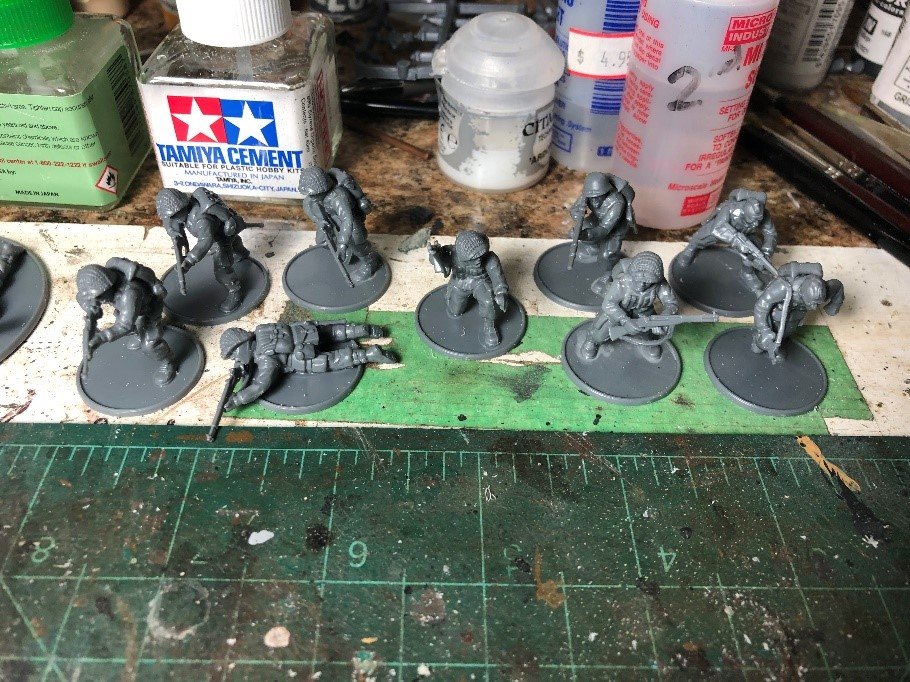 US equipment choices are healthy – lots of pouches, weapons, binoculars – as well as a great selection of heads with and without helmets. There’s even several of the “Mohawk” haircuts famously sported by airborne troopers in photographs before D-Day. A couple of these are definitely going to be part of this force!
 Building the GermansThe German figures are pretty nice, full of options. You have lots of weapon and gear choices to make, in addition to the arms & head choices. In most cases the gas mask cannister, entrenching tool, canteen, and mess tin are all separate pieces so you can choose how to equip each soldier. Add in SMG’s, rifles, assault rifles, Panzerfausts, MG42’s and more and you can have a heavily customized squad.It's worth taking some time to research how the Germans were equipped, if you’re so inclined. Or you can just dive in and make sure everyone has similar equipment.
 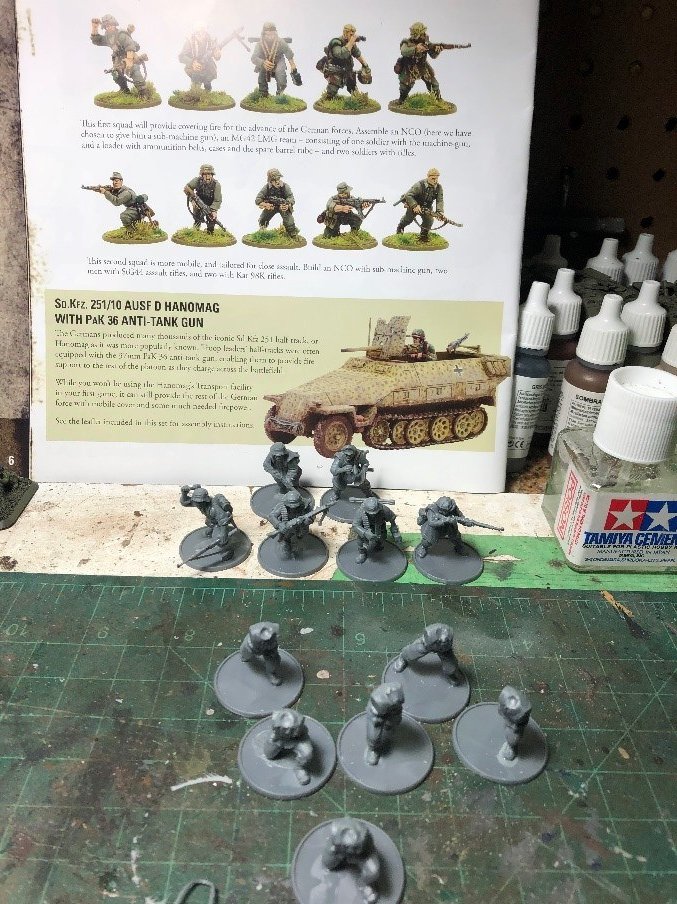 As with the US troops I chose to be lazy (or efficient…?) and follow the build guide in the set. The poses look good, and it means I don’t have to hunt around too much for arms and weapons combinations that match. Having the squads ready-made to match the booklet also has the advantage of helping anyone using the store army: the pictures should match up pretty close to the quick-start booklet to help them organize their squads. I will have to figure out how to help people differentiate each squad as well.
 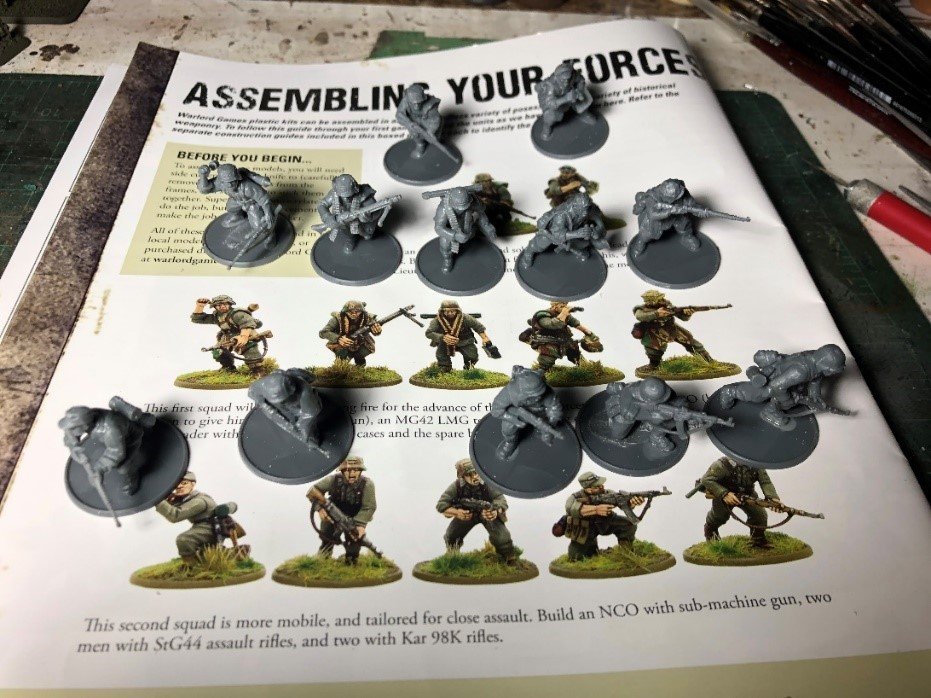 Building the Sd Kfz 251 half trackThis is one item I’m really looking forward to. Building models of tanks and AFVs goes back to my childhood and is something I’ve enjoyed for decades. World War II vehicles offer so much choice for the painter with different camouflage schemes, vehicle markings, stowage options, weathering and on and on. You can paint them up almost factory fresh if you prefer a nice crisp style, or have them scratched up and caked-on mud (which can conveniently save you the time and effort of painting all those road wheels!).Let’s pause for a moment though. Here is a good time to dive into the simmering controversy that surrounds Bolt Action, and it’s deadly serious: Should you use 1/56 scale vehicles or 1/48 scale vehicles?There’s a good comparison on YouTube that I watched on this, but ultimately, it’s up to you what you like. Here’s that comparison video:https://www.youtube.com/watch?v=OyT_X8VTdcYHere’s my thoughts: Warlord’s vehicles are all produced in 1/56 scale which is traditionally 28mm, but herein lies the issue for some folks. Warlord’s infantry figures are pretty ‘heroic’ sculpts; they’re big chunky figures. If you put them beside a 1/56 vehicle, they can sometimes look a little out of scale. Being bigger models, 1/48 vehicles sometimes look more appropriate alongside the Warlord figures, but there’s a bit of a sliding scale. Smaller vehicles look good, like Jeeps etc., and up to medium tanks *generally*. But the larger a vehicle gets in 1/48 scale, the more out of whack it looks with 28mm. A King Tiger is a monster on the table in 1/48.Personally, I picked up a Tamiya 1/48 German Panzer IV H and I think it looks right. Period photos show that a standing man’s head would come up to roughly the deck of the tank hull, and that’s close to how it seems to work out in miniature, so I like the way they look together.
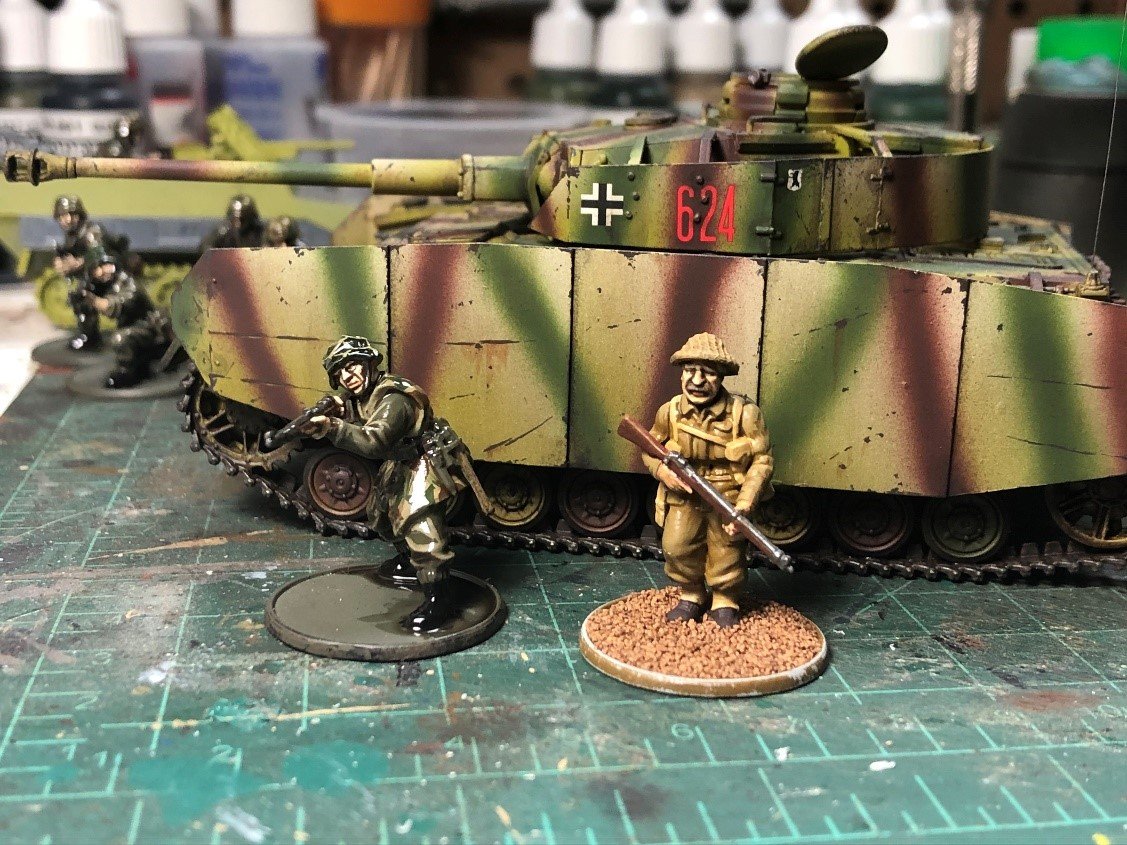 However, know that Warlord produces all their vehicles in 1/56, and if you try to mix and match scales it won’t look right. It’s probably wise to decide which way you want to go and stick with it. So I think I’m personally going to drop the Panzer IV into the display case and probably just go with Warlord’s vehicles because their collection is terrific, the models are pretty nice and they should hold up to gaming better than an actual scale model, like Tamiya.Make no mistake, going with Warlord kits is definitely easier! And you won’t have to go hunting in other model shops for 1/48 kits. Sentry Box has a big collection of armoured vehicles on the shelves and can order in for anything missing. So that’s pretty easy.But! If you’re building Warlord tank kits, also know that some of them are produced for Warlord by other manufacturers (such as Italieri, a well known model company), and then re-boxed in a Warlord box. The crew figures in the kits are thus not Warlord figures and this is where you’ll really notice the difference of 1/56 versus Warlord’s heroic 28mm figures.
 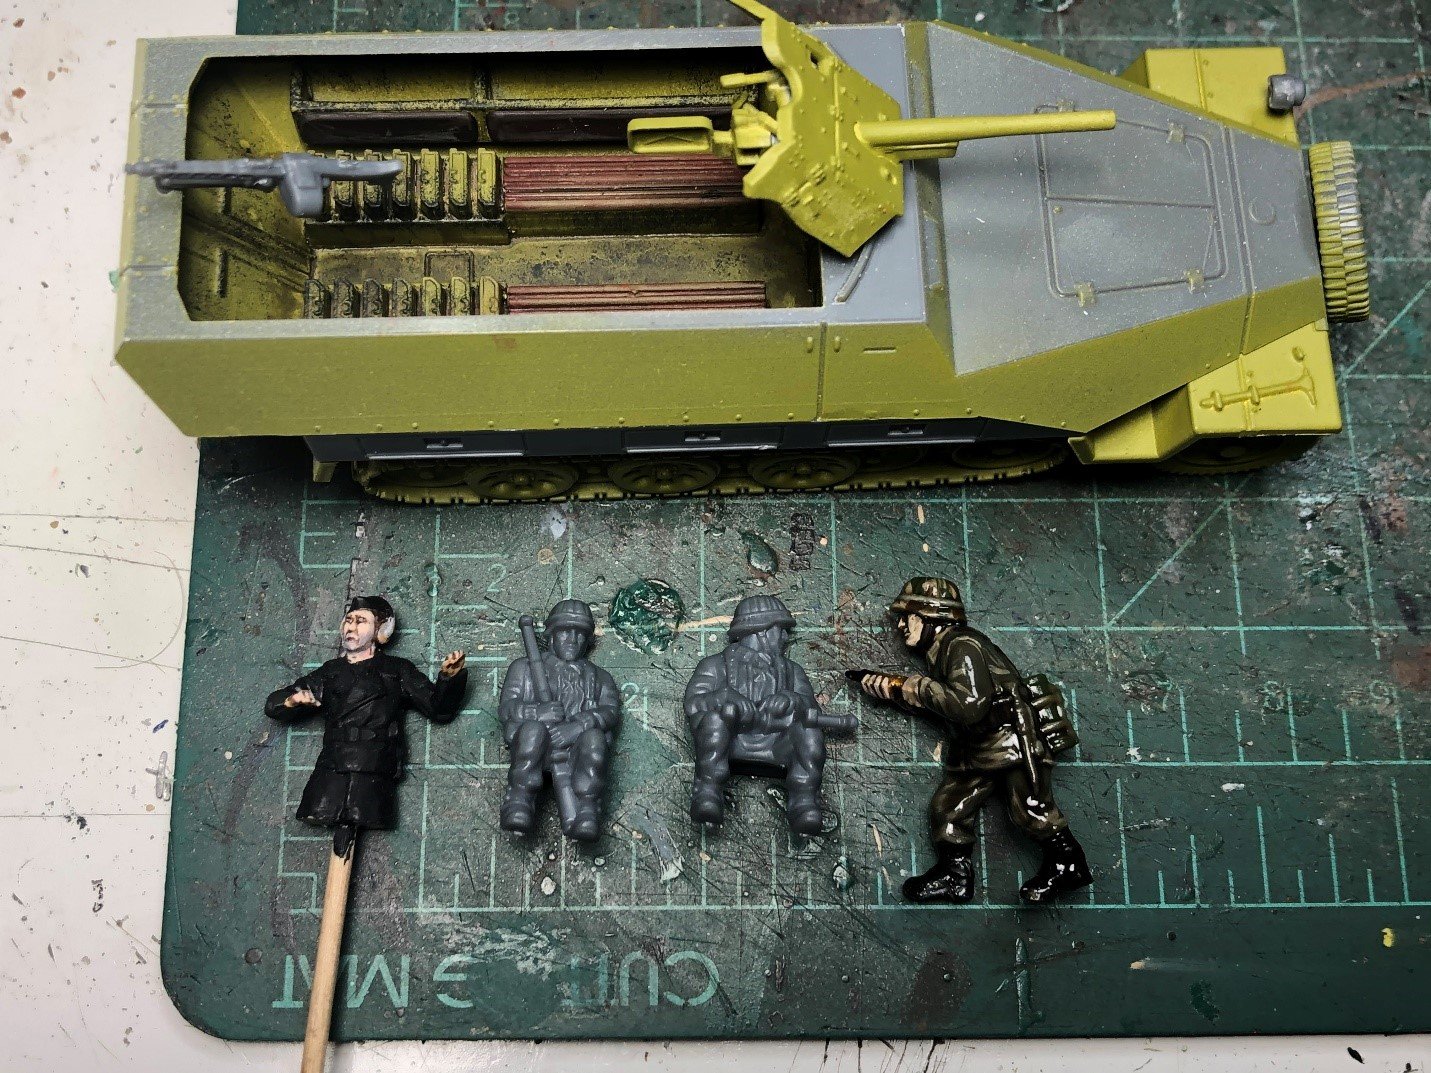 Okay, now that the… Elefant… in the room has been addressed (that’s a tank joke… I’m really sorry… ) on to the builds!
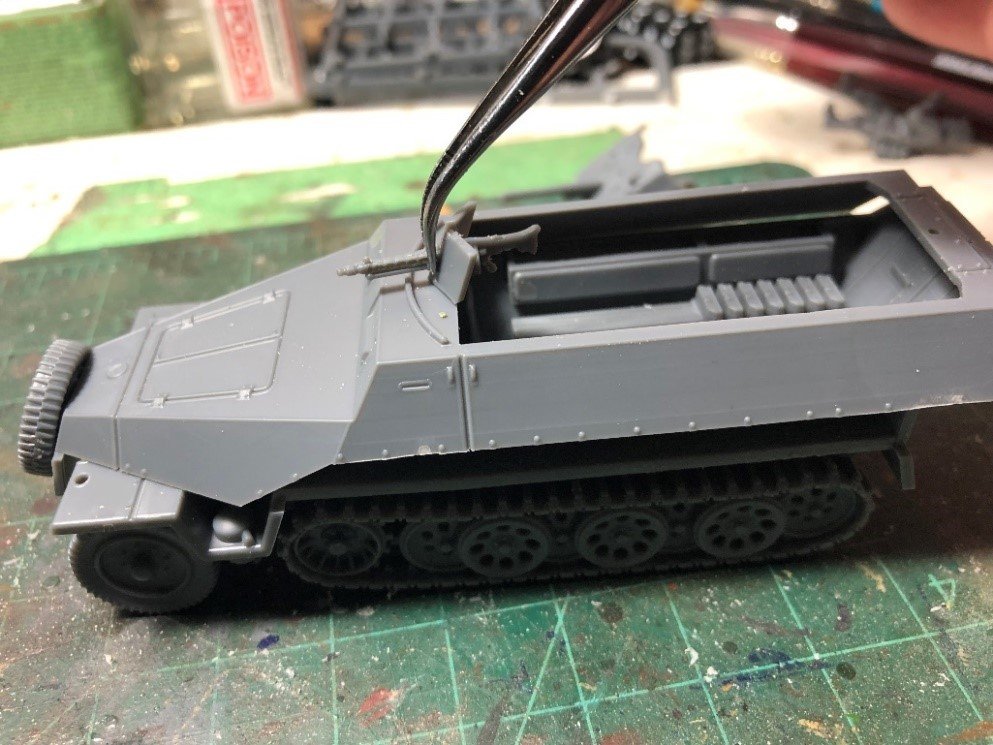
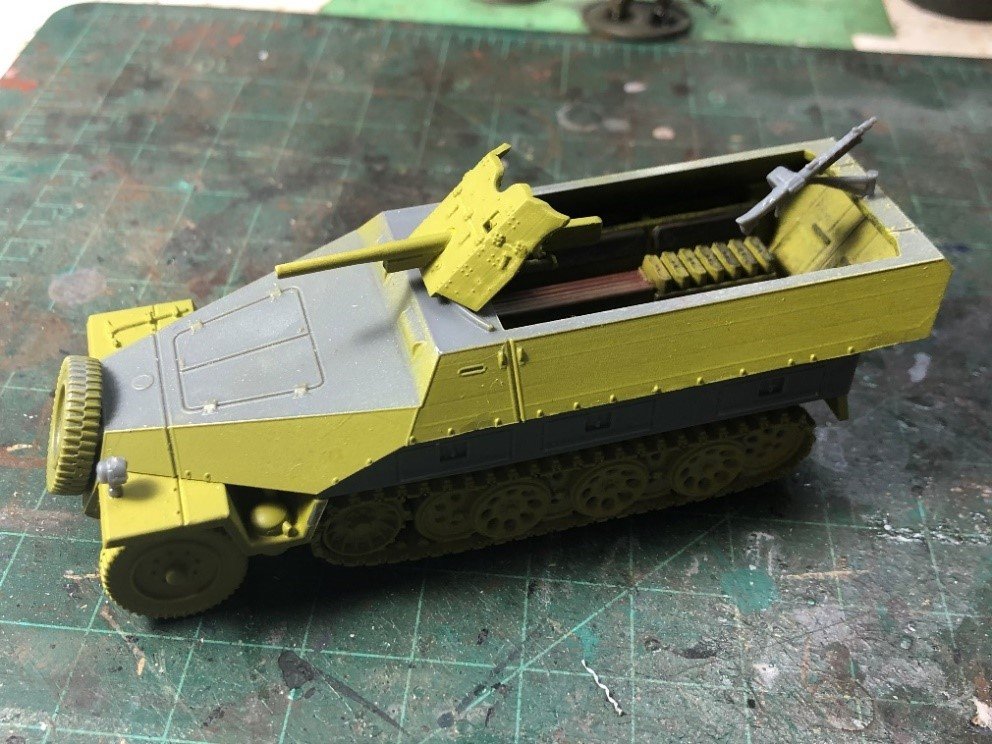
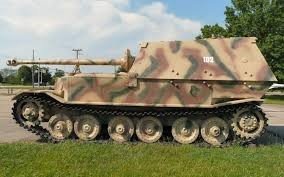 The Warlord kit is pretty straight forward. I am choosing to build it in stages so I can paint the interior first, mask it off and then paint the exterior once fully assembled. It’ll just be too difficult to get into the interior is some areas with a brush otherwise. You have the choice on the sprue of building the standard 251/1C with MG’s and simple benches inside, or the 251/10 (3.7cm) version sporting the PaK 36 gun, which has shorter benches and some ammo storage.
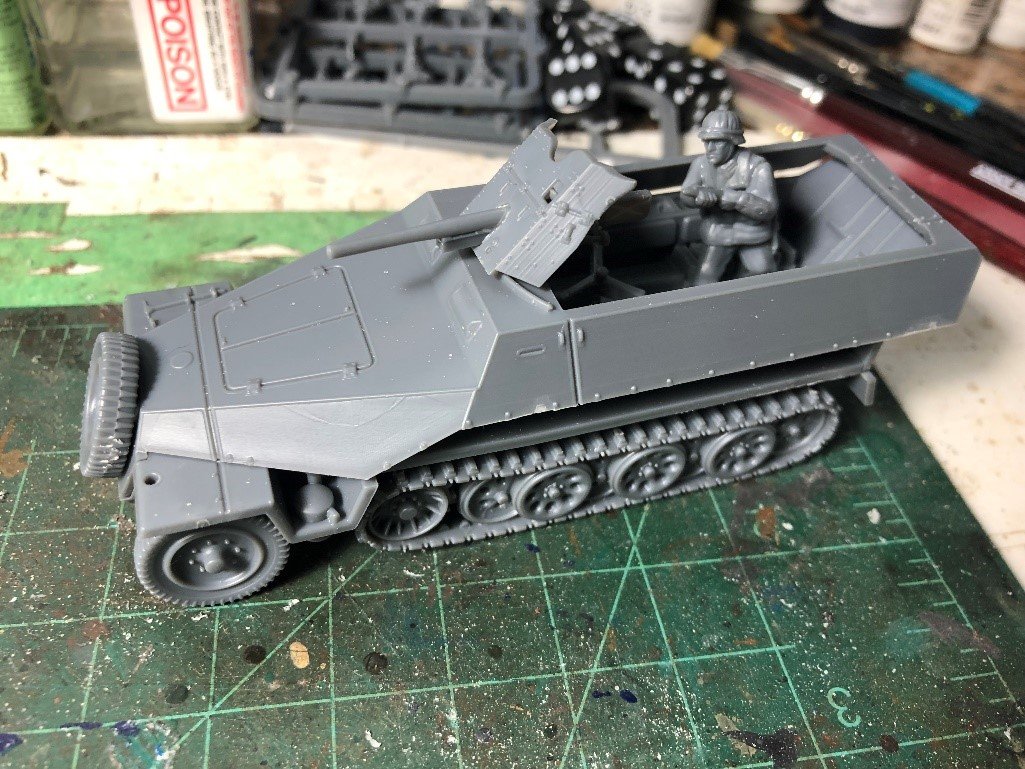
 Thanks for reading! Next time… Post 3: Painting the Americans!